


Tl;dr—I recently needed to renew my Passport before some upcoming international travel and was able to do so quickly.
I recently ran out of pages in my Passport, and as I had an imminent international trip, I needed a new passport rather quickly. Since my Passport was scheduled to expire next year anyway, I decided to pursue an expedited renewal. The State Department’s website outlines the circumstances under (and instructions by) which you can obtain an expedited passport. Since I had a trip booked for less than 14 days out and didn’t want to encounter any difficulty at international borders with ‘no place to stamp’, I decided to pay the extra fees to renew my Passport quickly. For context, about a decade ago, I also obtained a rush Passport as I had plans to travel internationally, so I was familiar with the process and impressed by the ease of it all. Here’s how it all went this time around:
Scheduling an Appointment at a Passport Center
If you qualify due to urgent travel, the first step is to schedule an appointment at a Passport Center using the online passport appointment system. You’ll need to complete a pretty straightforward form, during which you’ll provide some basic information about your upcoming international travel plans, find a passport agency, select a date and time for your appointment, and then confirm it.

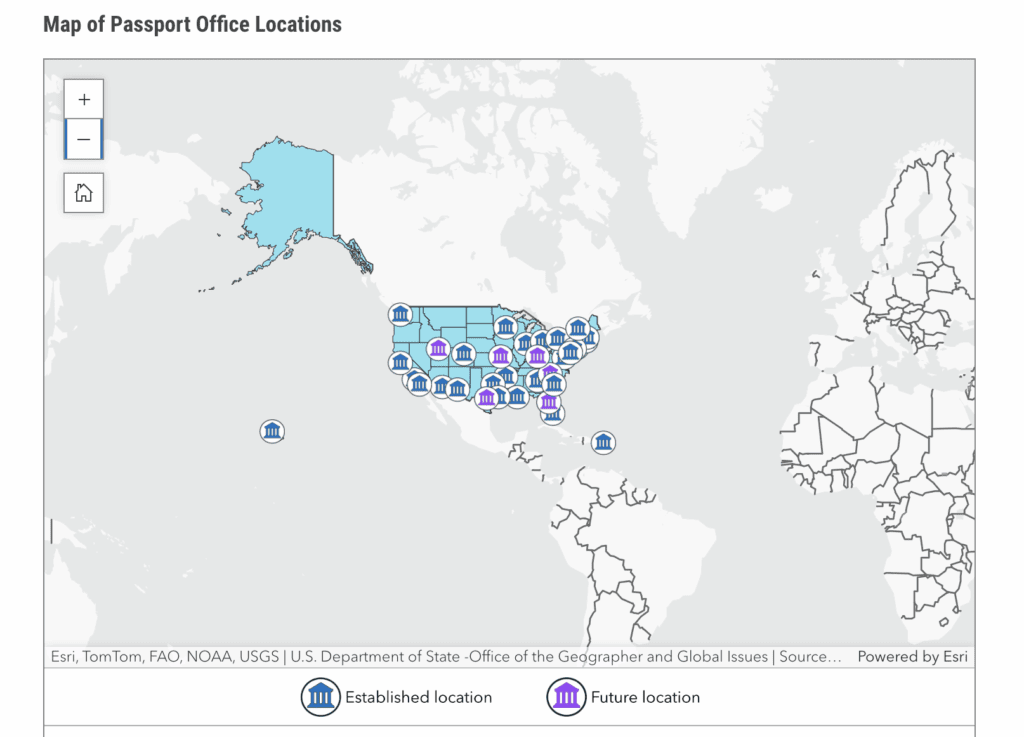
There are currently 27 Passport Centers across the continental US, Hawaii, and Puerto Rico, with six future locations in the works.
A few things to note: If your travel includes obtaining a foreign visa, you can actually schedule your appointment 28 calendar days out from your date of travel. Additionally, if you’re traveling with family members (who also need passport renewals), you can make one household appointment for up to seven individuals.
Once you’re confirmed, you’ll want to ensure you bring all your application materials to your appointment.
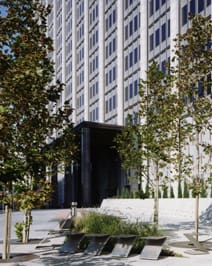
I planned to be in the Bay Area the week before my international departure, so I confirmed an appointment at the San Francisco Passport Agency, located in downtown SF between the Civic Center and Tenderloin neighborhoods.
My Renewal Appointment
I came prepared with all my application materials, including:
- A printed confirmation of my appointment
- Printed proof of my international travel
- My completed renewal form (filled out online, then printed)
- Supporting documents for my forms (in my case, my existing Passport)
- A passport photo (shout out Walgreens of Walla Walla, WA)
For ‘proof of international travel,’ you’ll want to bring a printed flight receipt or itinerary if you’re flying internationally. If you’re driving or taking a boat to Canada, Mexico, Bermuda, or the Caribbean, you can show a hotel reservation, cruise or bus tickets, or international car insurance.
To pay the passport renewal fee as well as the $60 expedited fee, you’ll need to have a payment method in the form of a major credit card, debit card (not ATM cards), or contactless payments such as Apple Pay, Google Pay, or Samsung Pay are also accepted.
You can also submit a check or money order made payable to the US Department of State. Lastly, cash is also accepted, though you must provide the exact amount, as change will not be provided.
For what it’s worth, you can also get the Passport Card, which I’ve used as my go-to ID for the last 10 years, since I travel so much. As it’s also a REAL ID (now actually a thing), carrying it around allows me to safely store my actual Passport in a hotel safe or similar secure location when I’m not actively showing it at a border crossing or checkpoint. Since my existing Passport Card was still valid, I didn’t need to renew it on this visit.
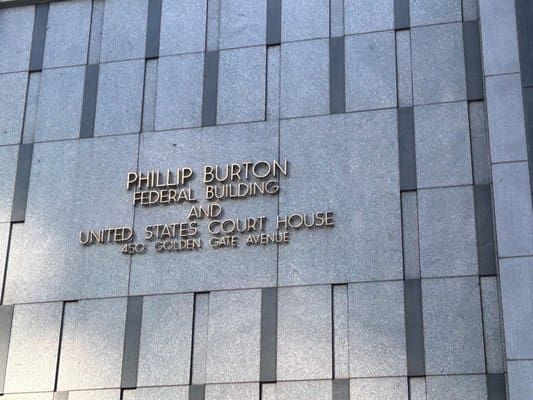
As far as my appointment, it was over and done quite quickly. After clearing security at the Phillip Burton Federal Building entrance, I went upstairs to the Passport Office, checked in with the guards, and received a number.
Like in the glory days of your favorite New York deli, my counter tag was called right as the guard put it in my hand, and I proceeded to the corresponding window. I greeted the representative, presented my application materials, answered a few questions about my travel, and was instructed to visit another window a few paces away to pay my application fee. After paying, I was given a receipt and told to return in the afternoon, THAT SAME DAY*, (with the receipt), to retrieve my new Passport.
Lo and behold, around 3 p.m., I reentered the office and, in a few minutes, left with my new Passport, as well as my old one, hole-punched through.
Easy as pie.

And yes, this time I opted for the book with ‘extra pages’. 😉
* Note: Your processing time may vary due to a number of factors, including but not limited to, 1) busyness of the Passport Center you’ve visited, 2) your travel plans, (including any necessary visas), 3) whether you seek out ‘Lifestyle’ hotels.