


tl;dr – Things were dicey there for a bit.
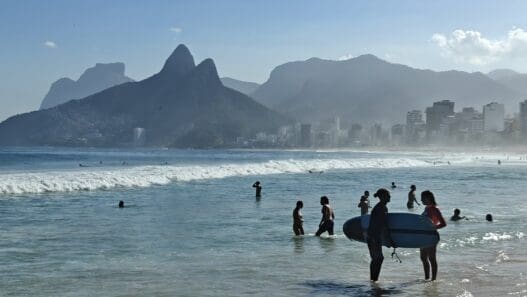
In preparation for a trip to Brazil, I needed to procure a visa. If you’re unfamiliar, the visa requirement for citizens of the USA (as well as Canada and Australia) to travel to Brazil was reinstated on April 10, 2025.
This measure requires travelers from these countries to obtain an electronic visa (e-Visa) for tourism or business, following the end of a unilateral visa exemption that was in place from 2019.
The process is relatively straightforward:
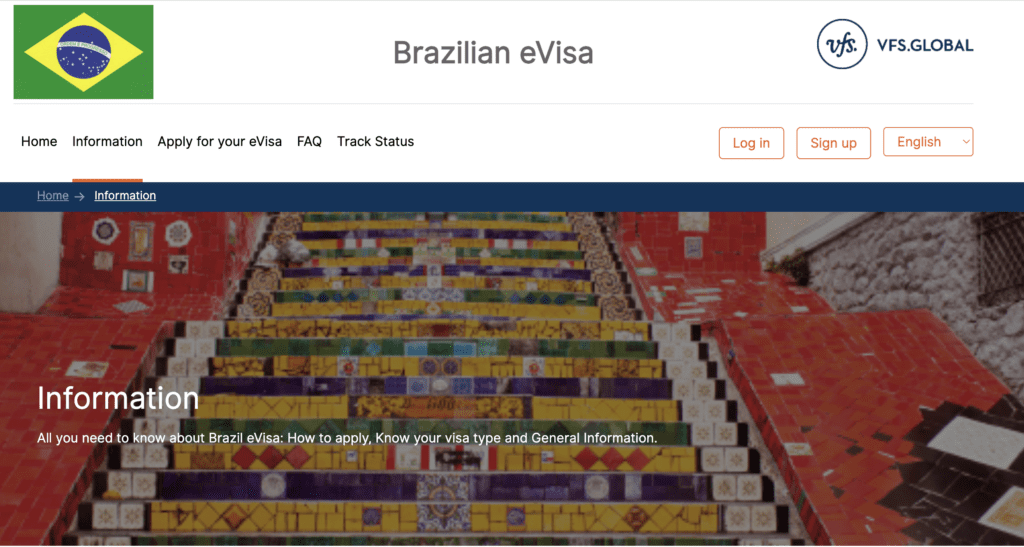
- You visit the Brazilian eVisa website.
- Fill in the application details and upload the necessary documents.
- Pay the fee.
- Await approval and download the eVisa.
The application isn’t super annoying, but it does ask for some somewhat nuisance-y information about your parents, so you’ll want to have birthdates and official names readily on hand.
The Hardest Part of the Process for Me?
The photo. Part of the application requires uploading a passport photo. Though I had semi-recently renewed my passport (which was a breeze), I didn’t opt for any digital copies of my passport photo when I took them. As I was in a somewhat remote part of Italy when I was filling out the application, I had to make due by taking my best ‘at-home’ passport photo.
The first attempt was unsuccessful. The Brazilian eVisa website actually has an AI tool that will edit and optimize your photos for submission, but even after getting the ‘all good’ from that tool, I received a notification that my initial submission was rejected and I’d need to resubmit a photo.
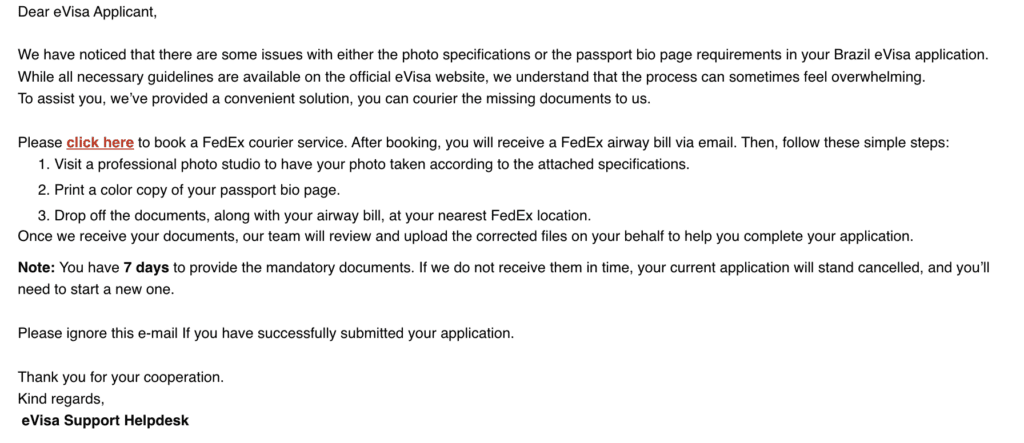
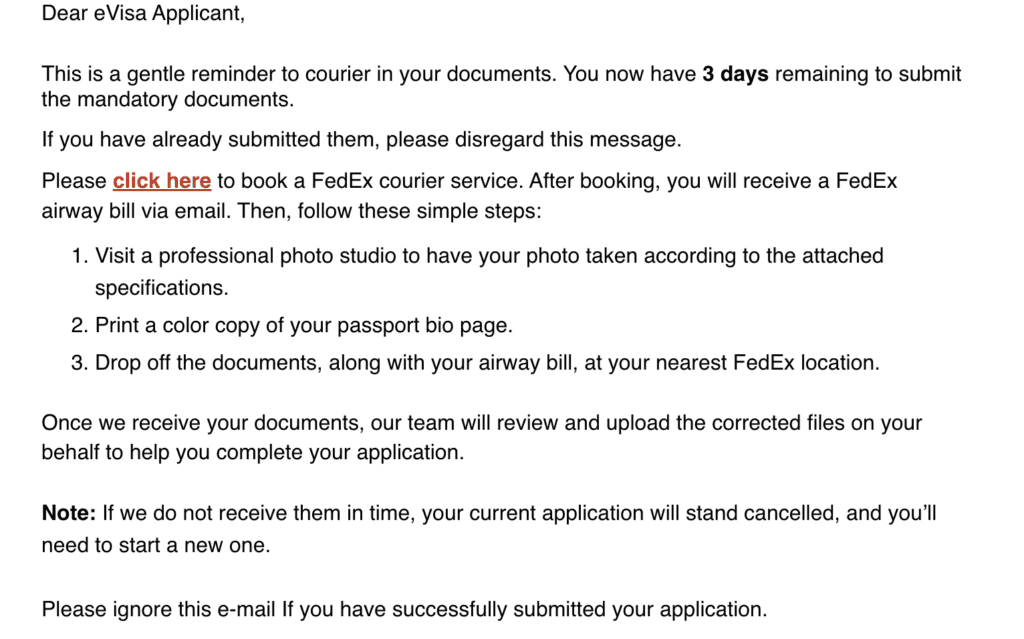
As I was moving around a ton, I found it hard to actually get this photo part done. That said, the website was good about sending ominous reminders that my initial application would be deleted in a few days’ time if I didn’t complete the photo process.
In the end, I snapped a photo of myself against a backdrop of a chalk-white wall at a supermarket while in Fes, Morocco. Thanks to those ultra warm white lights (they might have broken the Kelvins scale in there), I was able to get a photo sans shadows and resubmitted it on my application. I was able to use the same optimizing tool to edit out the background.

A little while later, I received an email indicating that my visa had been approved. Phew!
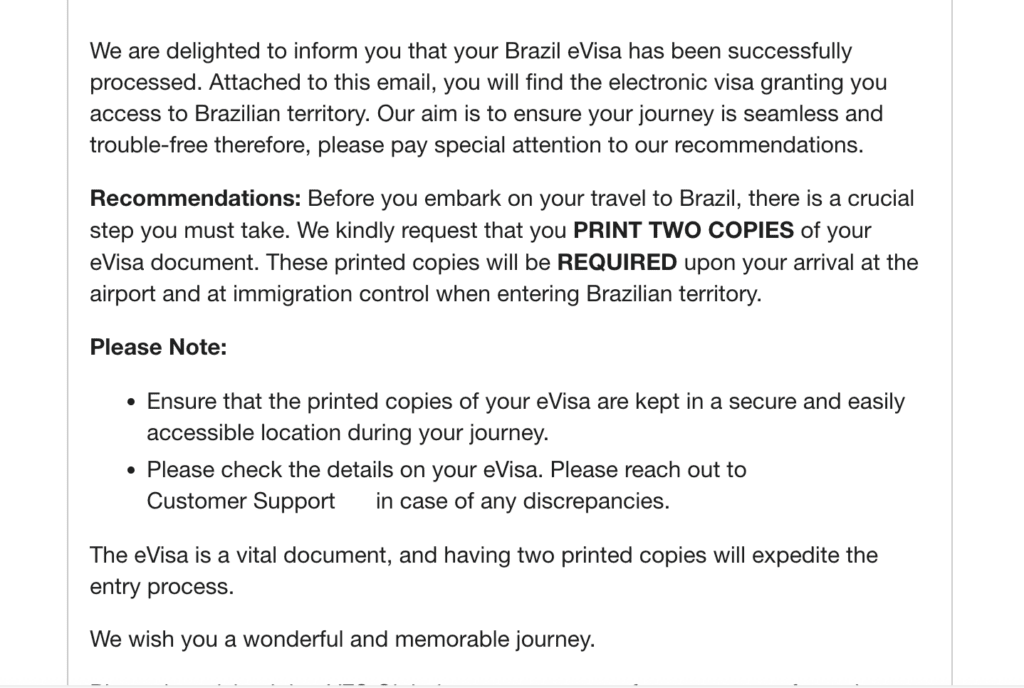
Once approved, you’ll want to print a few physical copies of your eVisa – to show at the airport of your departing flight, as well as immigration upon arrival in Brazil.
Make life easy on yourself and just elect for the digital copies when you get your next passport photo!